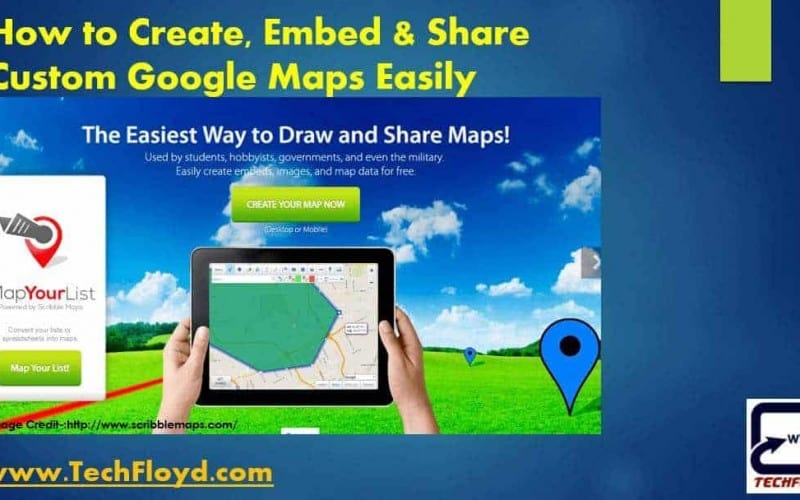
How to Create, Embed & Share Custom Google Maps Easily

Overview of How to Create, Embed & Share Custom Google Maps Easily
This article explains how to create custom Google Maps easily, including adding markers and customizing the map style. It also covers how to embed the map on a website or blog and share it via social media or email. By following recommended steps, you will be able to create and share their own custom Google Maps in no time.
Google Maps is a powerful tool that allows users to navigate, explore, and discover new places. With its customizable features, Google Maps can also be used to create custom maps for personal or business use. In this article, we will explore how to create, embed, and share custom Google Maps easily.
How to Create Custom Google Maps
To create a custom Google Map, you need to have a Google account. Once you are signed in, follow these steps:
- Open Google Maps and click on the “Menu” button (three horizontal lines) in the top left corner of the screen.
- Click on “Your places” and select “Maps.”
- Click on the “Create Map” button.
- Choose a name for your map and add a description (optional).
- Add markers, lines, or shapes to your map by clicking on the “Add Marker” button (a red pin icon) or the “Draw a Line” button (a blue line icon).
- Customize your map by changing the map style, adding photos or videos, or importing data from a spreadsheet.
- Save your map by clicking on the “Save” button in the top left corner of the screen.
How to Embed Custom Google Maps
Embedding a custom Google Map on your website or blog is a great way to share your map with others. Here’s how to do it:
- Open the custom Google Map you want to embed.
- Click on the “Share” button in the top left corner of the screen.
- Click on the “Embed a map” tab.
- Customize the size, zoom level, and map type of your embedded map.
- Copy the HTML code provided in the “Embed code” box.
- Paste the HTML code into your website or blog where you want the map to appear.
How to Share Custom Google Maps
Sharing your custom Google Map is easy and can be done in a few different ways:
- Share the link to your custom Google Map by clicking on the “Share” button in the top left corner of the screen and copying the link provided.
- Share your custom Google Map on social media by clicking on the “Share” button and selecting a social media platform.
- Share your custom Google Map via email by clicking on the “Share” button and selecting the “Send a copy” option.
Creating, embedding, and sharing custom Google Maps is a great way to showcase your business or personal interests. With Google Maps’ customizable features, you can create a map that suits your needs and share it easily with others.
Powerful Method with scribblemaps.com
Recently, I came to know about scribblemaps.com which is very useful to create Custom Maps which you can embed on your website and share with your friends. Scribble Maps used by students, Hobbyists, Government, and even the military For basic user you don’t need to create an account, you have to just head over to scribblemaps.com create your custom maps embed it on your website or blog or share it with your friends. Scribble maps provide both Desktop and Mobile Version to create custom Map.
Silent Features of ScribbleMaps
- Add Custom Images / Overlays
- Place Text
- Place Markers
- Draw Shapes
- Draw Great Circle Lines
- Create Map Embeds
- Create A Clickable Map
- Distance Calculator
- Area Calculator
- Create Maps on WordPress
- Create Map Images
- Create Map PDF
- Create KML Files
- Create GPX Files
- Create SHP Files
- Create DXF Files
- Send Maps to Friends
How to Use Scribblemaps to Create, Embed & Share Custom Google Maps Easily
- Log on to www.scribblemaps.com to create the map you have no need to create an account just click on Create Map.

2. Once you enter to the ScribbleMaps you can create your Custom Google Map with available tools.

3. Once you created your Custom Map you can save it in various Format.


