How to Customize Game Settings in Roblox Studio
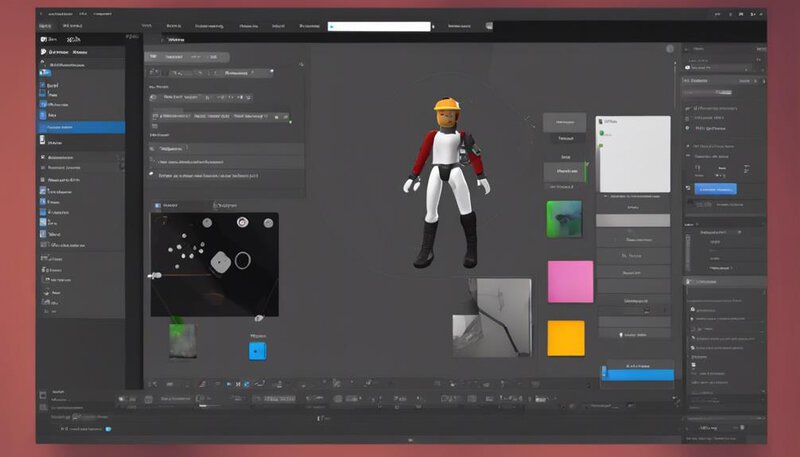
To customize game settings in Roblox Studio, you need to adjust various elements like graphics, sound, lighting, and controls.
These adjustments help to enhance your game, making it more immersive and unique.
Mastering the art of customization is crucial to unlocking your game's full potential.
Key Takeaways
- Customize interface, controls, and workflow efficiently.
- Adjust graphics quality and effects for performance and aesthetics.
- Personalize sound, lighting, and post-processing effects for immersion.
- Optimize controls, camera settings, and performance for smooth gameplay.
Accessing Roblox Studio Settings
To access Roblox Studio settings, navigate to the top menu bar and click on the 'File' tab, where you'll find the option to customize your preferences. This is where the magic begins – where you can mold the game to your liking, tailoring it to your unique style. Input devices and game controls play a vital role in your gaming experience. Imagine the freedom of choosing the perfect combination that suits your playstyle, empowering you to navigate through the virtual world effortlessly.
When you delve into the settings, you open a door to a realm of endless possibilities. Unleash your creativity by fine-tuning the controls to respond seamlessly to your commands. Whether you prefer a swift and responsive setup or a more laid-back approach, the power lies in your hands. Embrace the freedom to personalize every aspect of your gaming experience, from the way you move your character to how you interact with the virtual environment. Let your imagination run wild as you craft a world uniquely tailored to you.
Navigating the Settings Menu
Embark on a journey through the intricate world of Roblox Studio by navigating the Settings Menu, where you can fine-tune every detail to craft your ultimate gaming experience. As you delve into the Settings Menu, you hold the power to customize your interface and streamline your workflow. Utilize keyboard shortcuts to navigate swiftly and efficiently, enhancing your productivity within the Studio. Moreover, indulge in user interface customization to tailor the layout to your preferences, creating a workspace that resonates with your unique style.
To aid you in your exploration, here's a handy reference table highlighting some key features within the Settings Menu:
| Feature | Description | Functionality |
|---|---|---|
| Keyboard Shortcuts | Quick commands for faster access | Speed and efficiency |
| User Interface Customization | Personalize layout and design | Aesthetics and comfort |
| Audio Settings | Adjust volume and sound effects | Immersive experience |
| Scripting Settings | Configure script editor preferences | Coding convenience |
| Plugin Management | Install and manage plugins | Enhanced functionality |
Take the reins of customization and let your creativity flourish within Roblox Studio's Settings Menu.
Adjusting Graphics Quality
When adjusting graphics quality in Roblox Studio, consider the various options available to enhance your gaming experience. Assess how different settings impact performance to find the perfect balance between visuals and smooth gameplay.
Graphics Quality Options
Adjusting the graphics quality in Roblox Studio allows you to enhance your gaming experience by customizing visual settings to suit your preferences and hardware capabilities. Here are some optimization tips and visual effects you can explore:
- Graphics Quality Levels: Choose from various preset quality levels to find the right balance between performance and visuals.
- Customize Rendering Options: Adjust rendering settings like shadow quality, texture detail, and lighting effects to improve visual fidelity.
- Performance Boost: Lowering graphics quality can provide a performance boost, especially on less powerful devices.
- Experiment with Visual Effects: Explore different visual effects like bloom, depth of field, and ambient occlusion to create your desired atmosphere in the game.
Tailor your graphics settings in Roblox Studio for an immersive and lag-free gaming experience!
Performance Impact Analysis
To optimize your gaming experience in Roblox Studio, analyzing the performance impact of adjusting graphics quality is essential for achieving smooth gameplay and visually appealing aesthetics.
When tweaking graphics settings, consider benchmarking performance and analyzing resource usage to strike the right balance between visual fidelity and smooth operation. Performance optimization tips can include adjusting texture quality, shadow quality, and rendering distances based on your hardware capabilities.
Experimenting with different settings will allow you to find the sweet spot where your game runs efficiently without sacrificing too much visual detail.
Customized Visual Settings
For an immersive and optimized gameplay experience in Roblox Studio, fine-tuning your visual settings to adjust graphics quality is key to striking the perfect balance between performance and aesthetics.
Here are four tips to enhance your visual experience:
- Customized Visual Themes: Experiment with different themes to find the one that suits your style and enhances gameplay.
- Personalized Avatar Designs: Tailor your avatar to reflect your unique personality and stand out in the virtual world.
- Adjust Graphics Quality: Find the optimal settings that provide a smooth gaming experience without compromising on visual appeal.
- Regularly Update Settings: Keep exploring new settings to adapt to evolving game requirements and keep your gameplay fresh and engaging.
Customizing Sound and Music
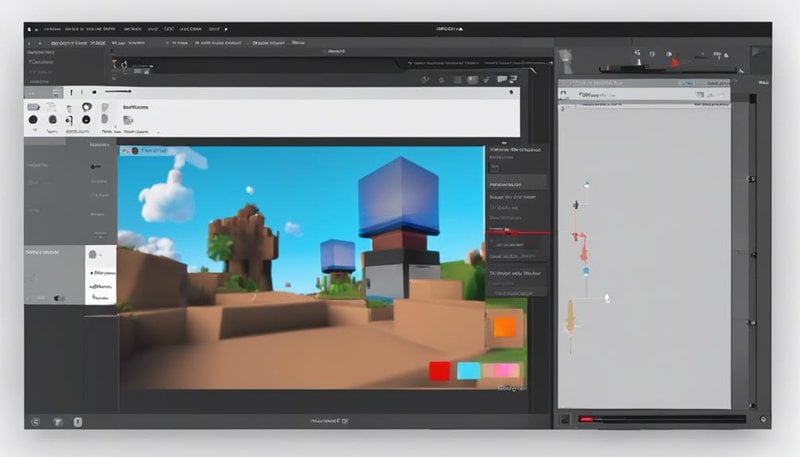
As you fine-tune your game's experience in Roblox Studio, remember the power of sound effects control and music volume adjustment. These elements can elevate the ambiance of your game, captivating players and immersing them in your world.
Take the time to craft a symphony of sounds that complements your gameplay and enhances the overall user experience.
Sound Effects Control
When customizing sound effects in Roblox Studio, you can create a truly immersive experience for your game players. Here are four tips to help you optimize sound effects and control volumes:
- Placement Matters: Position sound effects in your game to enhance the player's experience.
- Layer Sounds: Mix various sound effects to create a rich, immersive audio environment.
- Volume Variation: Adjust the volume of sound effects to ensure they complement the gameplay.
- Quality Matters: Use high-quality sound effects to elevate the overall gaming experience.
Music Volume Adjustment
Enhance your game's auditory experience by fine-tuning the music volume in Roblox Studio. The soundtrack selection sets the tone for your game, so adjust the volume to create the perfect audio ambiance.
Whether you want an intense, heart-pounding theme tune or a subtle background melody, Roblox Studio allows for precise volume adjustment. By customizing the music volume, you can guide players through different emotions and enhance the overall gaming experience.
Take advantage of this feature to tweak the audio elements in your game to perfection. Dive into the world of audio ambiance customization and make your game stand out with just the right balance of sound.
Tweaking Lighting and Effects
Adjusting the lighting and effects can transform the atmosphere of your game, elevating the player experience to new levels of immersion and excitement. Here are some tips to help you tweak your game's lighting and effects:
- Customizing particles effects: Experiment with different particle effects to add flair and dynamism to your game. Whether it's sparks, smoke, or magical auras, particles can enhance the visual appeal and make your game more engaging.
- Tweaking ambient lighting: Adjusting the ambient lighting can completely change the mood of your game. Play around with the intensity and color of the lighting to create different atmospheres, from eerie and mysterious to bright and cheerful.
- Utilizing shadows: Shadows add depth and realism to your game. By adjusting the shadow settings, you can control how shadows are cast in your game, enhancing the overall visual quality.
- Experimenting with post-processing effects: Post-processing effects like bloom, depth of field, and color correction can give your game a polished look. Try out different effects to see what works best for the style of your game and the experience you want to create.
Setting Controls and Hotkeys
To further enhance the player experience and customization of your game in Roblox Studio, let's now focus on configuring the controls and hotkeys to streamline gameplay and interaction seamlessly. Keybinding customization allows you to assign specific actions to different keys, tailoring the control layout to suit your preferences. Whether you prefer a traditional WASD setup or a more unique configuration, Roblox Studio provides the flexibility for you to play comfortably.
Exploring accessibility options and input settings can also enhance the overall gaming experience. These features cater to a wide range of players, ensuring that everyone can enjoy your game. From adjusting sensitivity to enabling shortcuts, you have the power to create a gaming environment that's inclusive and engaging for all.
Configuring Camera Options
For a more immersive gameplay experience in Roblox Studio, consider fine-tuning your camera options to tailor the perspective and view angles to your liking. Here are some tips to help you customize your camera settings:
- Camera Positioning: Experiment with different camera angles and distances to find the optimal view for your gameplay. Adjusting the positioning can enhance your ability to navigate through the game world effectively.
- Zoom Sensitivity: Modify the zoom sensitivity to control how quickly the camera zooms in and out. Finding the right balance can improve your precision when focusing on specific objects or areas within the game.
- Field of View (FOV): Explore the field of view settings to widen or narrow the camera's perspective. Adapting the FOV can impact your spatial awareness and immersion, allowing you to see more or focus on details.
- Camera Follow Speed: Adjust the camera follow speed to control how smoothly the camera tracks your character's movements. Finding the ideal follow speed can enhance the fluidity of your gameplay experience.
Customizing these camera options can significantly enhance your gaming experience and provide a more personalized touch to your adventures in Roblox Studio.
Managing Game Performance
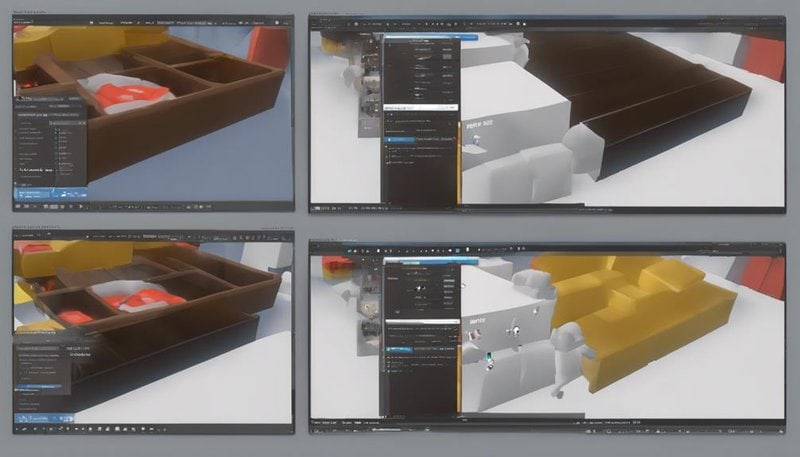
Enhance your gaming experience by optimizing game performance to ensure smooth and enjoyable gameplay. Performance optimization is crucial for a seamless gaming experience. By understanding hardware compatibility and tweaking settings, you can maximize your game's potential.
Here is a table to help you manage your game performance effectively:
| Performance Optimization Tips | Description | Benefits |
|---|---|---|
| Update Graphics Drivers | Ensure compatibility and | Smoother visuals and improved performance |
| Adjust Graphics Settings | Optimize visual quality | Balance between quality and performance |
| Monitor CPU Usage | Keep track of system resources | Prevent lag and ensure smooth gameplay |
Saving and Testing Your Changes
When saving and testing your changes in Roblox Studio, remember to validate your modifications by running thorough tests to ensure functionality and performance are optimized.
Here are some essential tips to make the most of your customization process:
- Save preferences: Always remember to save your preferences after making changes to your game settings. This ensures that your modifications are preserved and ready for testing.
- Test changes: Testing is crucial to ensure that your modifications work as intended. Test different scenarios to verify that your changes have the desired effect on gameplay.
- Seek feedback: Don't hesitate to seek feedback from others. Getting a fresh perspective can help you identify any issues or areas for improvement in your game settings.
- Iterate and refine: After testing and receiving feedback, iterate on your changes. Refine your settings based on the test results and feedback to enhance the overall gaming experience.
Frequently Asked Questions
Can I Customize the Cursor Settings in Roblox Studio?
To customize the cursor in Roblox Studio, you have the power to adjust its appearance, functionality, size, and color. Make your game uniquely yours by tweaking these settings to enhance the player experience.
How Do I Adjust the Chat Settings in Roblox Studio?
To adjust chat settings in Roblox Studio, click on the "Settings" icon, navigate to the "Chat" tab, and customize the chat filter to your liking. You can personalize the profanity filter and other chat settings for a unique experience.
Is It Possible to Change the Language Settings in Roblox Studio?
You can easily adjust the language preference in Roblox Studio to suit your needs. By customizing the user interface, you can make the game more accessible and enjoyable. Explore localization preferences for a personalized experience.
Can I Customize the Toolbars and Layout in Roblox Studio?
You hold the power to personalize Roblox Studio's toolbars and layout, crafting a workspace that suits your creative flow. Adjust cursor appearance, modify settings, and revel in the freedom to sculpt your digital domain.
How Do I Set up Custom Shortcuts for Specific Actions in Roblox Studio?
To set up custom shortcuts in Roblox Studio, click on "File" in the menu bar, select "Settings," then choose "Keyboard Shortcuts." From there, you can customize shortcuts for specific actions, making your workflow more efficient and tailored to your needs.


